
How to Prepare for a Residential Test: DIY Tips and Tricks


Understanding the Importance of a Residential Test
Preparing for a residential test can be both exciting and daunting. Whether you're moving into a new home or simply ensuring everything is in top shape, conducting a thorough test is essential. It helps identify potential issues, ensuring your living environment is safe and comfortable. In this guide, we'll share some DIY tips and tricks to help you prepare effectively.
Gather the Necessary Tools
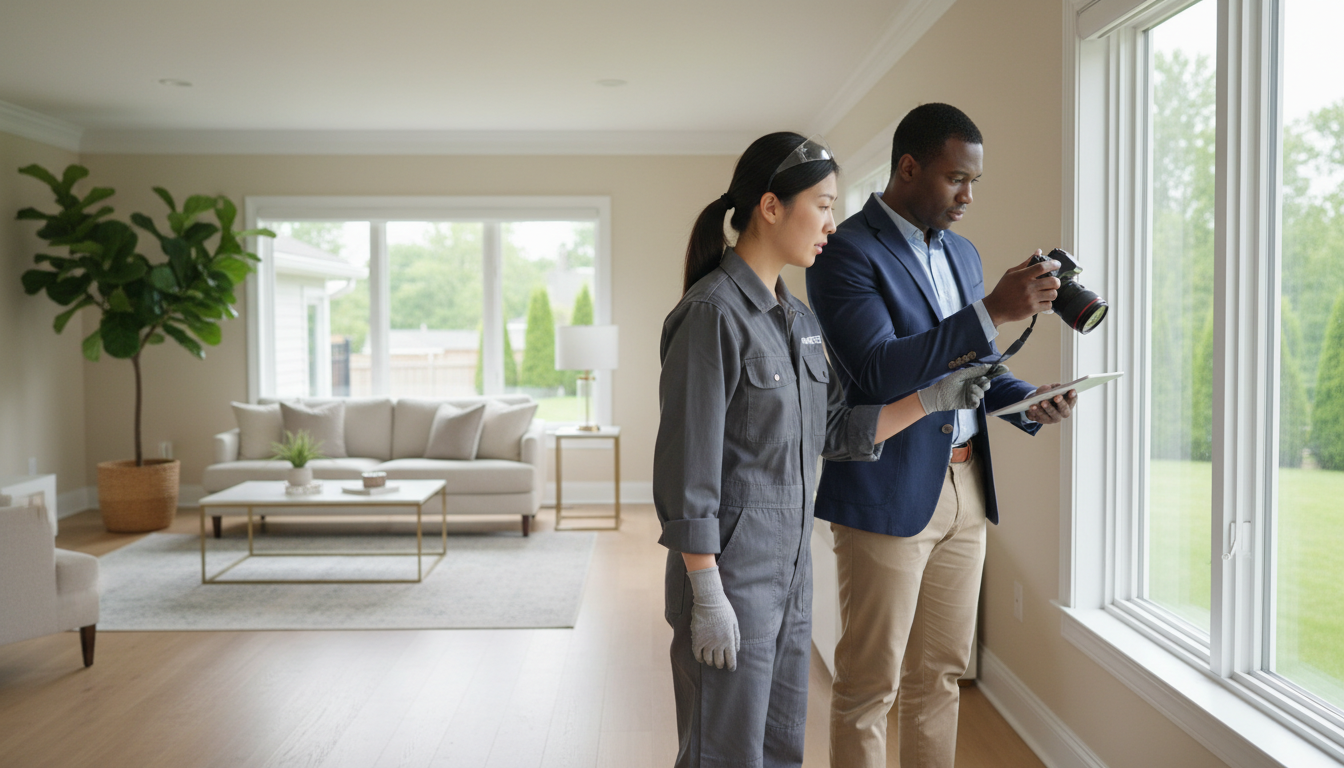
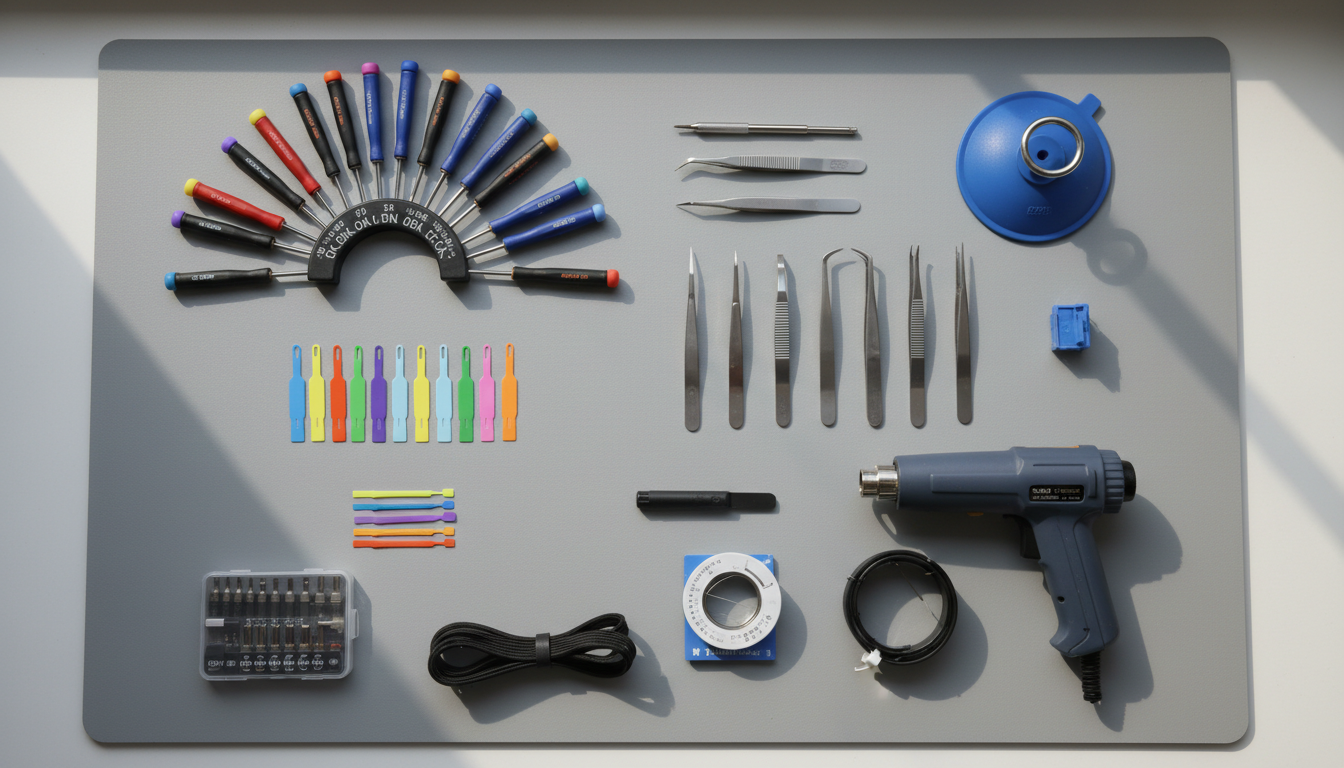
Before you begin, it's crucial to gather all the necessary tools. A basic toolkit should include a flashlight, a screwdriver set, a notepad, and a smartphone for taking photos and notes. Having these tools on hand will make the process more efficient and help you document any issues you might find.
Create a Checklist
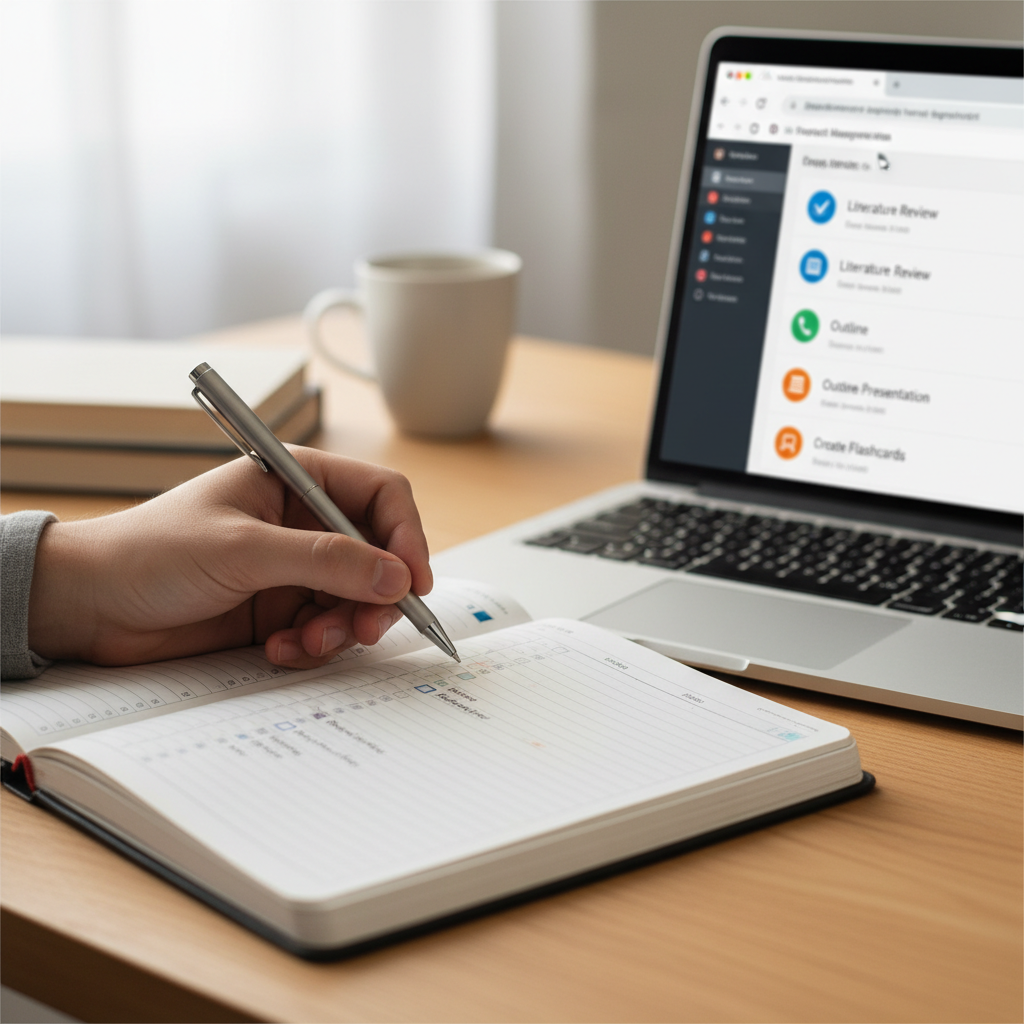
Creating a checklist is a vital step in preparing for a residential test. This checklist should cover all areas of the home, including plumbing, electrical systems, and structural elements. By having a detailed list, you can ensure that no area is overlooked during your inspection.
Inspect the Exterior
Begin your inspection by examining the exterior of the house. Look for visible signs of wear and tear, such as cracks in the foundation or damaged roofing. Check the gutters and downspouts to ensure they are clear of debris, as blocked gutters can lead to water damage.
Evaluate the Interior
Once the exterior inspection is complete, move indoors. Start with the basement and work your way up to the attic. Pay attention to any signs of moisture, mold, or pest infestations. These issues can escalate quickly, so it's important to address them immediately.

Test Electrical and Plumbing Systems
Next, examine the electrical and plumbing systems. Test all light switches and outlets to ensure they are functioning correctly. In the bathroom and kitchen, check faucets and toilets for leaks. A slow leak can lead to significant water waste over time.
Safety First
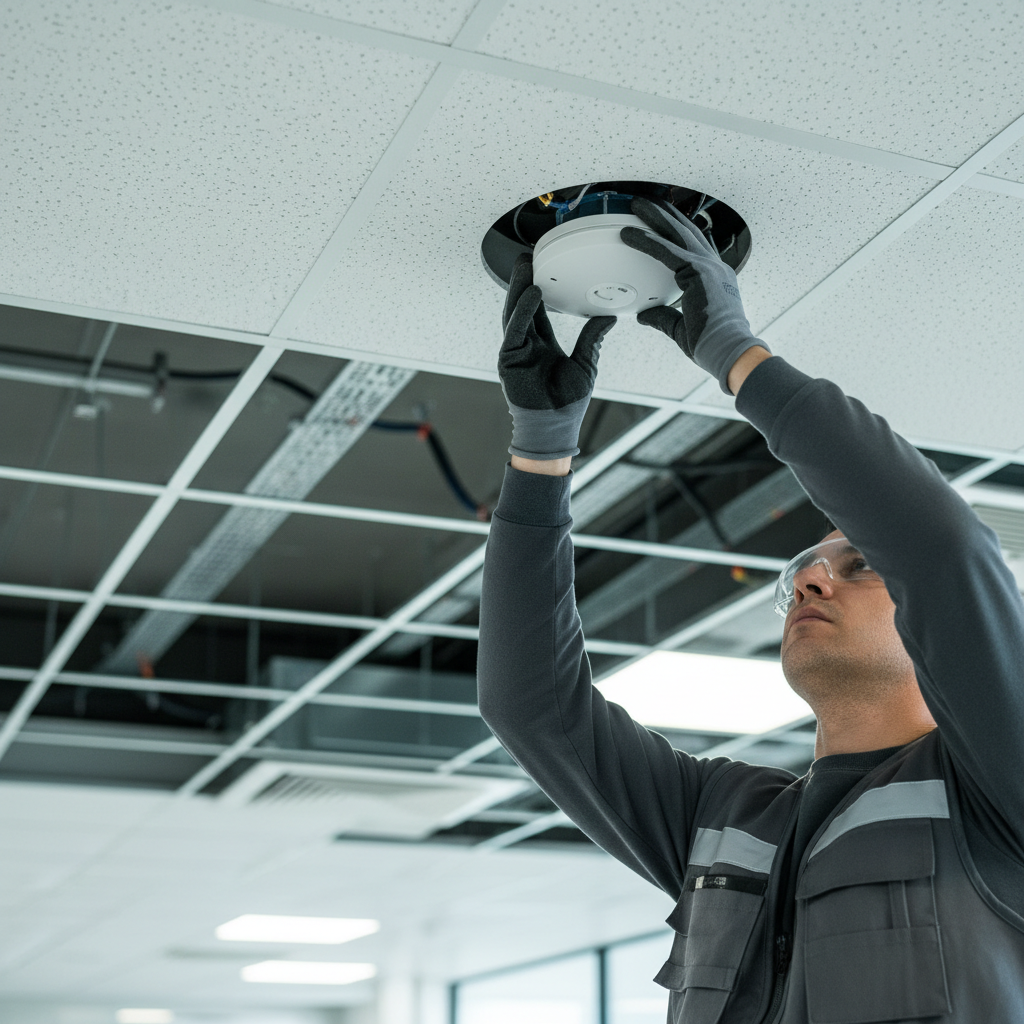
Safety should always be a priority when conducting a residential test. Ensure smoke detectors and carbon monoxide alarms are in working order. Replace batteries if necessary. Additionally, familiarize yourself with the location of the main water shut-off valve and electrical panel in case of emergencies.
Document Your Findings
As you complete each section of your checklist, document your findings with notes and photographs. This documentation is invaluable if you need to discuss potential repairs with professionals or negotiate with landlords or sellers.
Plan for Repairs
Once you've completed the inspection and documented your findings, it's time to plan for any necessary repairs. Prioritize issues based on urgency and budget. For complex repairs, consider consulting with professionals to ensure the job is done correctly.
By following these DIY tips and tricks, you can effectively prepare for a residential test, ensuring your home is safe and well-maintained. Regular inspections and timely repairs will not only enhance your living environment but also protect your investment in the long run.